How to Cut and Tuck a Basket
Contents are copyright V I Reed & Cane Inc. If you are reading these entries from a location other than Basketweaving.com, that means that the source has stolen our copyrighted content.
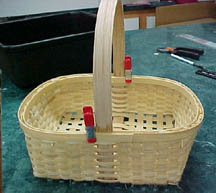
"Cutting and tucking" is the process of turning the spoke ends back into the basket so that the rim will not pull off.
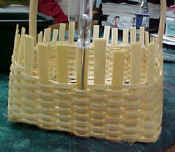
The awl in the photo marks the first spoke that will be "cut and tucked". The spoke needs to be a spoke that is "over" the weaver on the last row when viewed from the outside of the basket.
Cut the spoke so that it's got enough length to bend over the top row and tuck under one or two rows inside. No need to cut a point unless you have difficulty getting the spoke end tucked in.
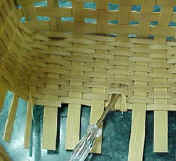
Bend the spoke over the last row of weaving, and, using the awl to hold open a space in the weaving, tuck the spoke end into the inside weaving.
You've just "cut and tuck"-ed. Don't worry if some of them splinter a little. See this one at left in 2nd photo? I cut a point. Points are more likely to splinter. For the rest I decided to just keep the straight edges.
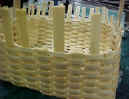
Go around the basket, "cutting and tucking" as many as you can.
Be careful of your fingernails as you push the spoke ends in.
Remember: ONLY the spokes that are on TOP of the last row of weaving- as viewed from the outside of the basket- can be cut and tucked.
When you've cut and tucked, go around the basket and trim the other spokes flush with the top edge.
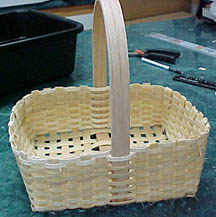
Then, lash your rims bands directly on top of (not "above") this tucked top area of the basket.
Your lashing will secure the rim bands into the top and the weaving will not pull out since the bent-over spokes (the cut and tucked spokes) will hold the weaving in place.